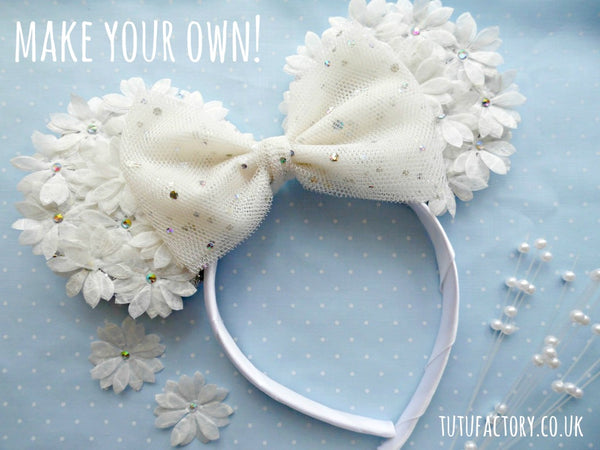
So if you want to make sure you're the Bride's BFF then you can make some up and give them to her as a gift! Not everyone wants a veil, especially if you're spending the weekend at Disneyland. (Lucky thing!)
So, what do we need?

- Minnie Mouse ears (silver looks best as a base)
- Glue - We use Crafters Pick Jewel Bond
- Paper Flowers - I'd advise to order 2 or 3 packs to make sure you have enough!
For the bow detail
- Hologram Dress Net
The glue, paper flowers and hologram dress net we purchase from eBay ourselves, so if you do a search for them you should find them easily enough. We get our Minnie Ears from a wholesaler but they can also be found on eBay as well. Please note that we are based in the UK so if you're in a different country you may have to source some alternatives!
One you have all the above you're ready to go! This is usually what I'm doing in the office when Laura is answering emails.
First thing you need to do is get your Minnie Mouse ears...

And rip off the bow! (They usually come off quite easily)
Then you should be left with something like this here.
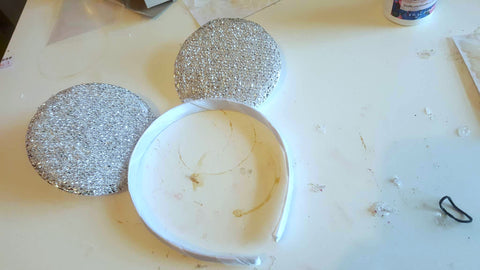
Don't worry too much if you do rip your ears a little, you'll be able to cover it with your flowers anyway! (I rip the bows off at least 20 pairs a day, I'm a professional!)
Now we are ready to add the paper flowers!
I'll put a little bit of glue on each paper flower before placing them on the ears.

It might sound like it's going to take forever but even if you're really slow it would still probably only take you around 10 minutes. That would be going really slow too!

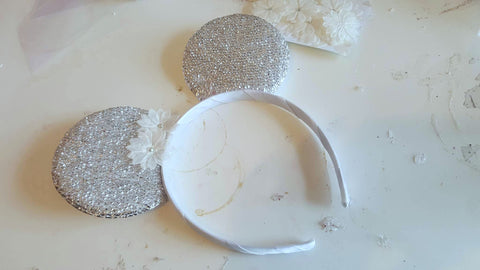
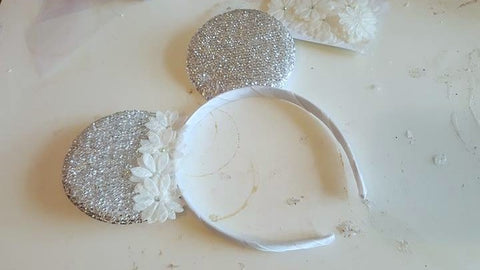


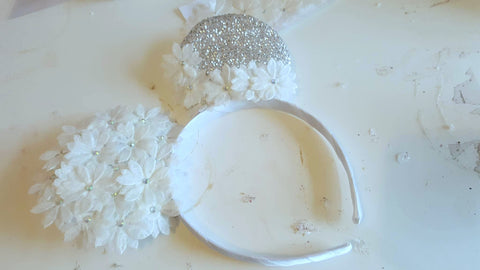

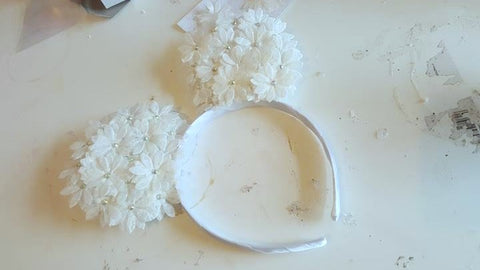
It's completely up to you how you go about putting the paper flowers on. I usually work from the outside in as shown in the pictures but there's no wrong way to do it!
All you need to do is leave these to dry over night. I usually place a few extras on the next day as sometimes the glue can show behind the diamante part, especially if you've used too much glue so just place a few extras on top to 'freshen' it up.
We only place the paper flowers on the front. If you want to do the back too then we say go for it!
Once the ears are dry you can move on to adding your bow.
Again you can purchase this from various eBay stores. A lot of the sellers also offer it in metres or a roll. You'll only need about one or two metres if it's just the one bow!
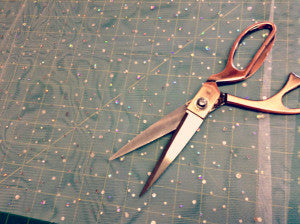

All you need to do to make your bow is to get your 1 or 2 metre piece of net and fold it in half. I think we usually measure out around 25 inches folded over.
You can either cut your net into the 'bow size' (3.5" or 4") now or do it once you've completed the steps below.
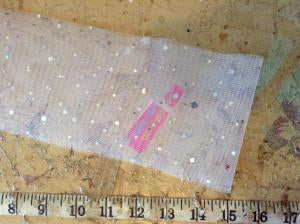

I then keep folding it at that size over and over until I come to the end of the net. And you can just trim any end off if there is anything left over (see image above) Now is probably a good time to cut a strip of net to tie your bow together once you’re ready. I usually have a 2-3″ wide strip so it’s thick and strong to tie with.
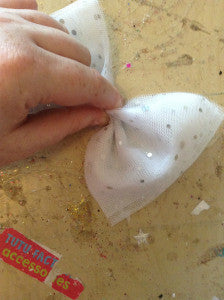
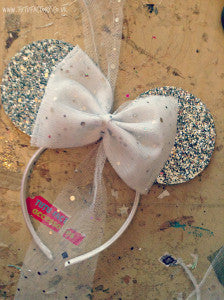
You might find your own version of doing this, so don't worry if my way doesn't work out for you!
If you use our tutorial we would love to see your finished ears and what you’ve done with them! Please send them in or comment below.
If you have any questions or thoughts we’d love to hear them. You can email us at thetutufactory@hotmail.co.uk

